In my previous blog I described how we migrated data from our old SAN to new one. In this blog I’ll describe how we virtualized (P2V) two cluster nodes from HP physical machines to VMware ESX 4 virtual environment.
So let’s go straight to the point. Before the actual virtualization we prepared a short plan how we’re gonna do it without too much impact on this 24/7 production environment. Our steps were:
- We informed users that there may be some troubles on the network.
- We prepared server environment.
- P2V virtualization of cluster nodes.
There is not much to talk about informing the users. The usually don’t read notifications and they always complain that they didn’t receive one.
The preparation of server environment was done like this:
- We assigned appropriate
LUNs to VMware servers.
- We backed up both cluster nodes.
- We wrote down IP settings (ipconfig /all)
- We migrated all cluster resources to one node (Node1).
- We installed VMware vCenter Converter Standalone Client to one of the computers with Gigabit Ethernet.

After all this was done, we started virtualizing Windows 2003 cluster servers.
- We
stopped / disabled all unnecessary services and wrote down their names and startup type. It is very important to stop and disable Cluster Service, because we don’t want it to accidently start after server is virtualized and not yet configured. We wanted to control services startup.

- We also stopped and disabled all HP management agents and AV software.
After server was prepared we started VMware Converter and run P2V wizard.
- Choose the server we wanted to virtualize.

- Choose the destination server

- Enter the name of the virtual machine

- Choose datastore and virtual machine version

- Setup parameters for the conversion task. Be careful to remove unnecessary disk drives from conversion. We only need local drives and not those located on SAN.

- Once again review the conversion parameters and start conversion.

After conversion was done and before we started this machine we edited machine properties to add RAW hard disks and change startup delay.

I always change Power On Boot Delay parameter to value 9000. I do it because I don't like catching ESX at boot to choose whatever boot parameter I need.

OK, everything looks great and we were ready to start the server. But before we did it we switched off the old one! This is very important, never leave both servers running!
After successful first boot we did these:
- Installed VMwareTools.

- Configured correct IP address.
- Uninstalled HP management agents.
- Checked and configured correct disk / SAN presentation.
- Checked DNS just to be sure that cluster node didn’t register itself with wrong IP address.
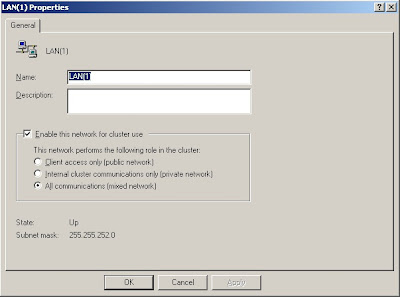
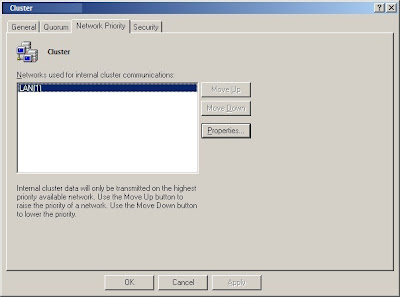
- Rechecked cluster communication on Node1


After all this was done we enabled and started services one-by-one, with Cluster Service being the last.
Cluster service started successfully and we could start testing resource migration to these newly configured virtual cluster node. After we tested all resources and few days passed we virtualized the second node. We did it the same as the first one.
I hope this blog will help someone at their cluster migration :)
This is it. Have fun!


